Hi.My name is Selfless.I am runing a company which focus on online game products and services.
I am intrested in the guest posts/articles that you are post on the private blogs & private sites.
Skull and Bones Nashkar Sloop Build Guide
Jun-11-2026 PST
Category:
Skull and Bones
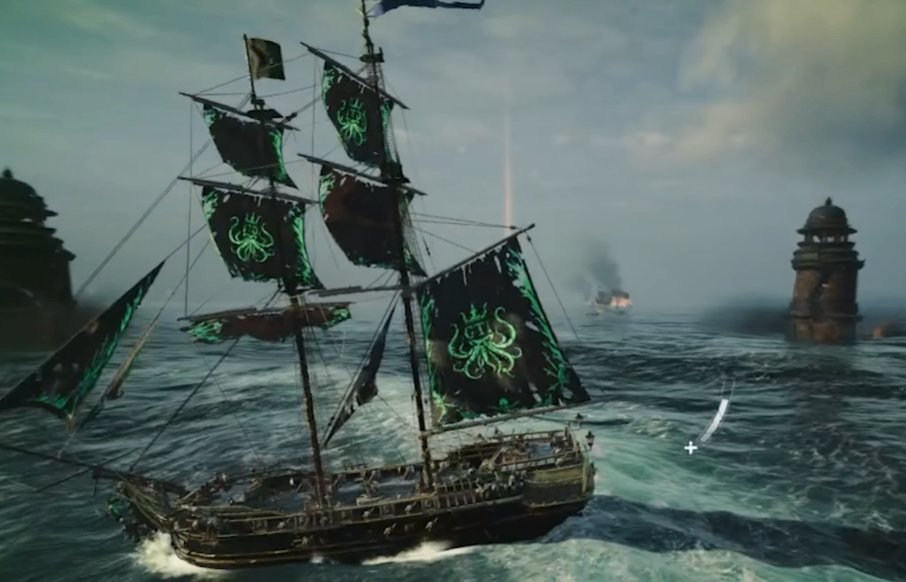
Looking for a powerful and flexible ship build in Skull and Bones Silver that balances speed, survivability, and consistent damage output? Want a setup that lets you dominate both PvE contracts and PvP encounters without feeling too slow or too fragile? The Sloop of War Nashkar build is quickly becoming one of the most effective mid-sized ship configurations in the current meta thanks to its strong hull durability, reliable broadside damage, and excellent maneuverability. But what makes it stand out compared to other Sloop builds? And how do you optimize it for endgame naval combat, resource farming, and high-risk sea zones? This guide breaks down everything you need to know.
WHY THE SLOOP OF WAR NASHKAR BUILD IS SO STRONG
The Sloop of War already sits in a powerful position as a balanced ship class, but the Nashkar variant enhances its combat consistency and survivability, making it a reliable choice for long engagements.
Key Strengths
Strong mid-range cannon damage output
High maneuverability for repositioning
Improved survivability in sustained fights
Excellent versatility for PvE and PvP
Efficient ammo and stamina management
This build focuses on maintaining constant pressure while avoiding over-commitment, making it ideal for players who prefer tactical positioning over brute-force rushing.
CORE BUILD PLAYSTYLE AND COMBAT LOOP
The Sloop of War Nashkar build revolves around controlled engagements and precise broadsides.
Typical Combat Flow:
Open with long-range cannon fire to soften targets
Circle into optimal broadside positioning
Maintain pressure using consistent reload timing
Use speed and turning radius to avoid return fire
Finish enemies with close-range burst volleys
This loop ensures you are always dealing damage while minimizing exposure to heavy enemy fire, especially in elite naval encounters.
BEST WEAPONS AND DAMAGE SETUP
To maximize the effectiveness of the Nashkar build, your weapon loadout should focus on sustained DPS rather than single burst damage.
Recommended Weapon Focus:
High-damage broadside cannons
Fire or explosive ammunition types for pressure damage
Secondary utility weapons for debuffs or control
Boarding support options for PvP encounters
The goal is consistent damage uptime rather than waiting for high-cooldown bursts, making this build extremely reliable in extended fights.
DEFENSIVE LAYERS AND SURVIVABILITY
One of the strongest aspects of the Nashkar Sloop build is its ability to stay alive under pressure without sacrificing too much damage potential.
Defensive Priorities:
Reinforced hull upgrades for damage mitigation
Sail efficiency for escape and repositioning
Repair efficiency improvements for longer fights
Crew stamina optimization for sustained combat
By balancing offense and defense, the ship can survive longer engagements against higher-tier enemies without retreating too often.
ENDGAME PERFORMANCE AND FARMING POTENTIAL
In endgame content, the Sloop of War Nashkar build excels in:
High-value convoy interception
Elite ship contracts
Open-sea PvP skirmishes
Resource and crafting material farming
Zone control and event participation
Its biggest advantage is adaptability. While larger ships may hit harder and smaller ships may be faster, the Nashkar Sloop sits perfectly in the middle, allowing it to respond to nearly any situation effectively.
FINAL VERDICT:WHO SHOULD PLAY THIS BUILD?
The Sloop of Skull and Bones Items for sale War Nashkar build is ideal for players who want a balanced naval experience that doesn’t rely on extreme specialization. It rewards smart positioning, consistent pressure, and tactical decision-making rather than pure aggression or extreme tanking.
Best For:
Mid-game and endgame progression players
PvE farmers looking for efficiency and safety
PvP players who value flexibility and control
Solo captains who need an all-purpose ship
HELPFUL TIPS FOR MAXIMUM EFFECTIVENESS
Always maintain broadside angle instead of head-on fights
Use terrain and wind direction for positioning advantage
Upgrade hull before maximizing weapon damage
Avoid overcommitting to boarding unless enemy is weakened
Keep repair materials ready for extended sea routes
ABOUT ME
BANNER

RECENTLY READ
-
Skull and Bones Nashkar Sloop Build Guide
Jun-11-2026 PST /Skull and Bones -
Elden Ring: Crystal Cave Moss
Jun-06-2026 PST /Elden Ring